

There’s something downright magical about that first spoonful of Cherries in the Snow Dessert. A cloud of sweet, fluffy cream hides beneath a glossy blanket of ruby-red cherries, and every bite tastes like a little holiday on a plate. It looks fancy enough for Christmas dinner but is secretly simple enough to throw together on a busy weeknight.

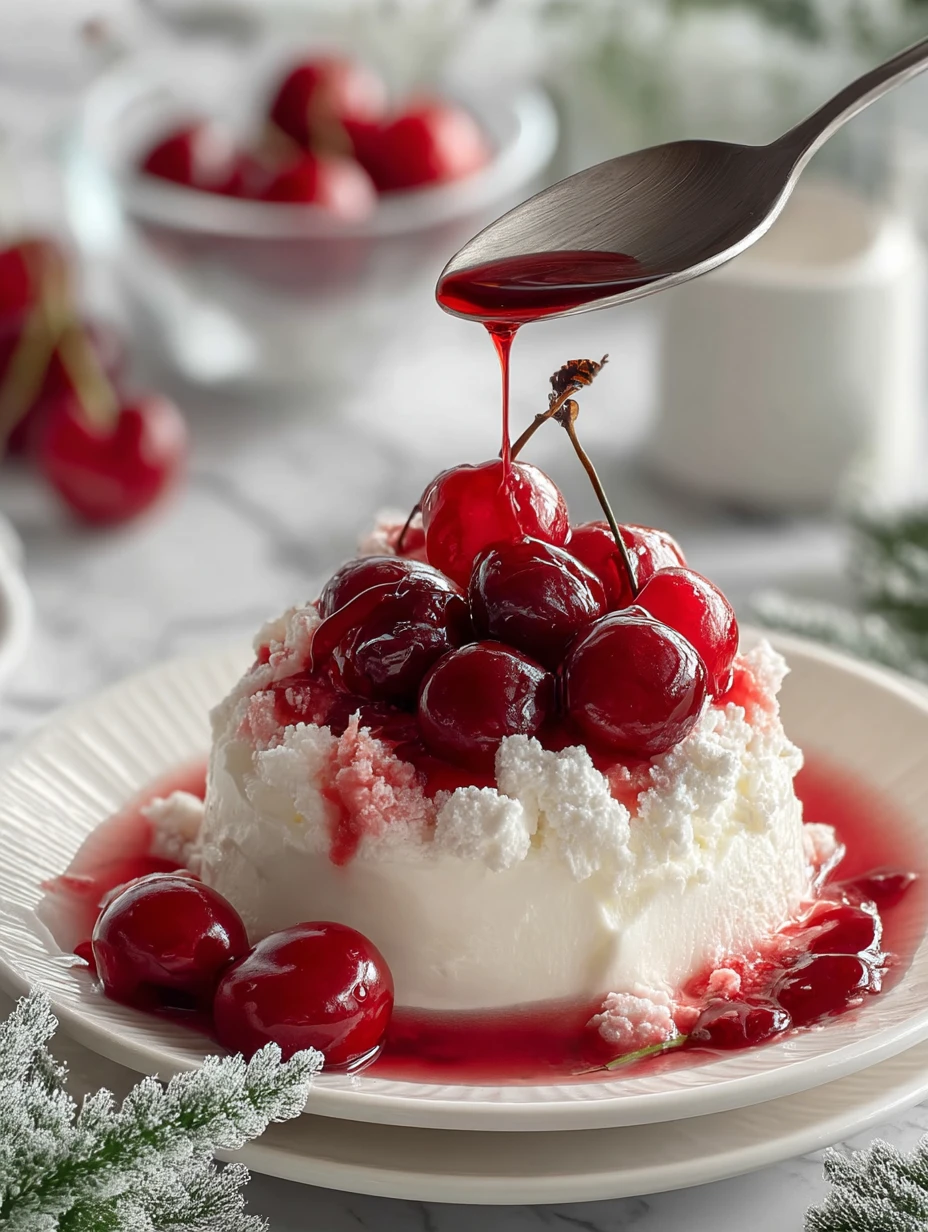
This is the kind of nostalgic, no-bake dessert that shows up at church potlucks, family reunions, and cozy winter gatherings. The creamy “snow” layer, the soft cake, and the juicy cherry topping all play together to give you a dessert that feels indulgent but never heavy.
Why You’ll Love This Cherries in the Snow Dessert
Cherries in the Snow checks all the boxes for a crowd-pleasing dessert. It’s creamy, fruity, easy to make, and looks show-stopping with almost no effort.
- No-bake friendly: Aside from baking the base (and you can even cheat with a store-bought angel food cake), the rest is simple stirring and layering.
- Feeds a crowd: Made in a 9×13-inch pan, this dessert is perfect for potlucks, holidays, and family dinners.
- Make-ahead magic: It actually tastes better after it chills, so you can prep it hours ahead of time—or even the night before.
- Light but satisfying: The whipped cream and cream cheese layer feels airy, not heavy, so it’s a sweet ending that doesn’t weigh you down.
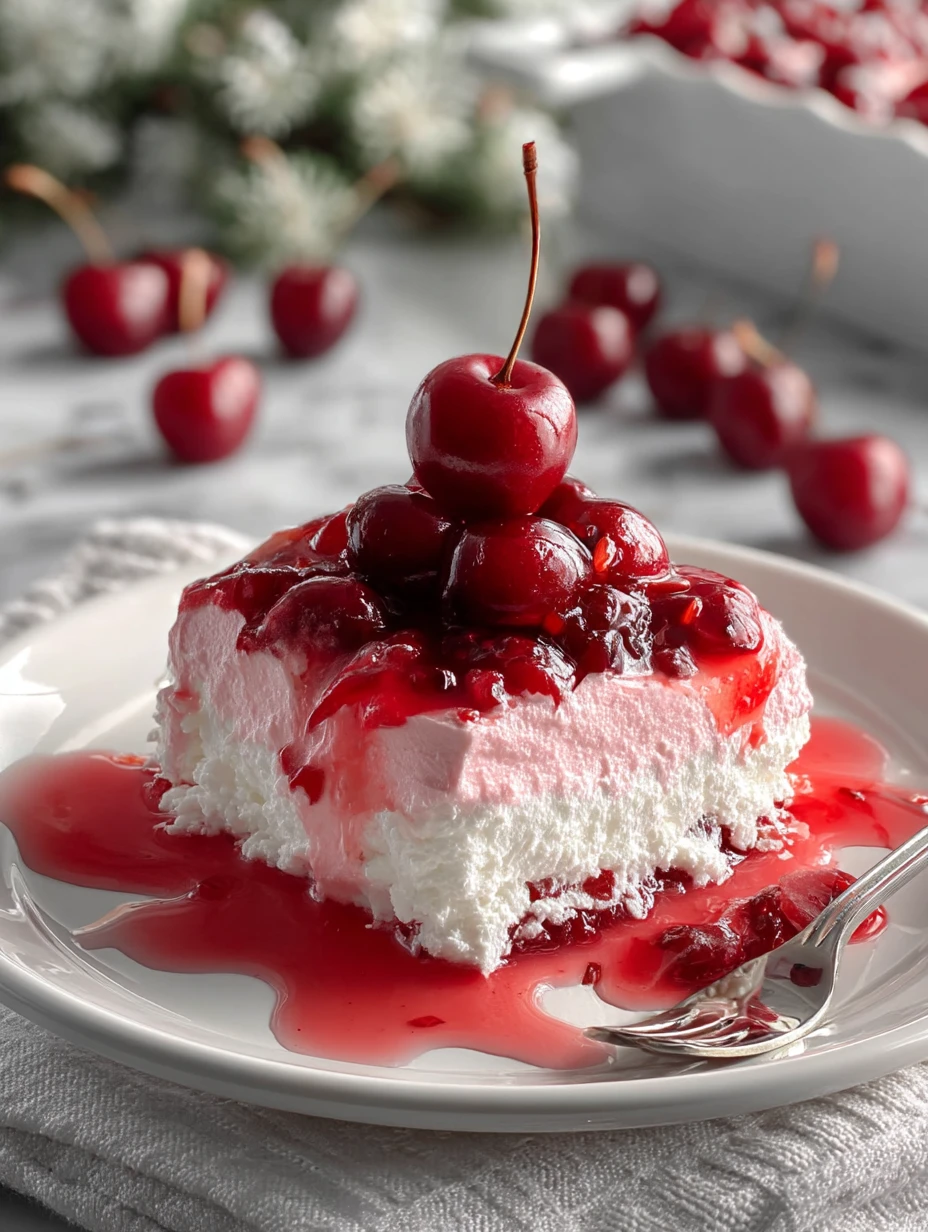
- Pretty on the table: That bright cherry topping looks like jewels against the white “snow,” and it always gets compliments.
What Kind of Cherries Work Best in Cherries in the Snow Dessert?
For this dessert, canned cherry pie filling is the classic choice. It has the perfect balance of sweetness and syrupy thickness, so it sits nicely on top of the creamy layer without sinking in.
If you prefer something a little less sweet, you can use a can of tart cherries in juice and stir them with a bit of sugar and cornstarch on the stove until thick. Just be sure to cool the mixture completely before spooning it over the cream so it doesn’t melt your snowy layer.
You can also mix things up by using different pie fillings—think blueberry, strawberry, or even raspberry. The structure of the dessert stays the same; only the flavor on top changes.
Ingredients for the Cherries in the Snow Dessert
This dessert relies on simple pantry and grocery staples that come together to make that signature fluffy “snow” and glossy cherry topping. Each ingredient plays a small but important role in the texture and flavor.
- Angel food cake or pound cake: Forms the soft, sweet base that soaks up some of the creamy filling.
- Cream cheese: Adds tang and richness to balance the sweetness of the cherries and whipped topping.
- Granulated sugar: Sweetens the cream cheese mixture and helps it stay smooth.
- Vanilla extract: Brings a warm, comforting flavor that ties the cream layer together.
- Cold heavy whipping cream or whipped topping: Whips up into the light, cloud-like “snow” layer.
- Powdered sugar: Lightly sweetens and stabilizes the whipped cream so it holds its shape.
- Cherry pie filling: Creates the glossy, fruity topping and adds that classic cherry flavor and color.
- Almond extract (optional): Just a tiny splash deepens the cherry flavor and gives a bakery-style finish.
How To Make the Cherries in the Snow Dessert
This dessert is all about layers: a tender cake base, a creamy middle, and a bright cherry topping. Once everything is prepped, assembly takes just a few minutes.
Step 1: Prepare the Cake Base
Cut your angel food cake or pound cake into small cubes, about 1-inch pieces. Lightly grease a 9×13-inch baking dish, then scatter the cake cubes evenly across the bottom. This creates the soft, spongey foundation that will hold the creamy “snow” layer.
Step 2: Make the Cream Cheese Mixture
In a large mixing bowl, beat the softened cream cheese with the granulated sugar until completely smooth and creamy, scraping down the sides of the bowl as needed. Mix in the vanilla extract (and almond extract, if using) until everything is well combined.
Step 3: Whip the Cream
In a separate chilled bowl, whip the cold heavy cream with the powdered sugar until it reaches stiff peaks. You want it thick enough that it holds its shape but still looks silky and smooth.
Step 4: Fold and Layer the “Snow”
Gently fold the whipped cream into the cream cheese mixture, working slowly so you don’t deflate all that beautiful air. Once combined, spread this fluffy mixture evenly over the cake cubes, making sure to tuck it down between the pieces so everything is coated.
Step 5: Add the Cherry Topping
Carefully spoon the cherry pie filling over the cream layer, spreading it all the way to the edges. Take your time here so you don’t disturb the layer underneath; you want a distinct, glossy cherry blanket on top.
Step 6: Chill and Serve
Cover the dish with plastic wrap and refrigerate for at least 3–4 hours, or overnight for the best texture. The cake will soften slightly, the flavors will mingle, and the layers will set. To serve, scoop or slice generous portions and enjoy that beautiful contrast of creamy snow and bright cherries.
Serving and Storing Cherries in the Snow Dessert
Cherries in the Snow is best served well-chilled, when the layers have had time to settle and the flavors have blended together. It’s a wonderful make-ahead dessert for holidays like Christmas and Thanksgiving, but it’s just as welcome at summer cookouts when you don’t want to turn on the oven.
A 9×13-inch pan will comfortably serve about 10–12 people, depending on how generous you are with portions. For smaller gatherings, you can halve the recipe and use an 8×8-inch dish instead.
To store leftovers, cover the pan tightly with plastic wrap or transfer individual portions to airtight containers. Keep the dessert in the refrigerator for up to 3 days. The cake will continue to soften, but the flavors stay delicious. Because of the dairy and whipped cream, this dessert doesn’t freeze well—the texture of the cream layer tends to become grainy once thawed.
What to Serve With Cherries in the Snow Dessert
Vanilla Bean Ice Cream
Serve small scoops of vanilla ice cream alongside Cherries in the Snow for an extra-cool contrast. The creamy vanilla flavor pairs beautifully with the bright cherries.
Fresh Berries
Add a bowl of fresh raspberries, blueberries, or sliced strawberries to the table. Their natural tartness balances the sweetness of the dessert.
Savory Snack Board
A simple board with cheeses, nuts, and crackers offers a salty counterpoint and keeps your dessert course from feeling too sugary.
Hot Coffee or Espresso
A strong cup of coffee, espresso, or even a latte cuts through the richness of the cream layer and makes this dessert feel café-worthy.
Herbal or Black Tea
Serve with hot tea—peppermint, chamomile, or a classic black tea—for a cozy, soothing pairing after a big meal.
Sparkling Water with Citrus
If you’d like something lighter, pour sparkling water over ice with a squeeze of lemon or lime. The bubbles refresh your palate between bites.
Light Lemon or Berry Bars
Offer a small plate of citrusy or berry bars for guests who love to sample different treats. The tart flavors work especially well with sweet cherries and cream.
Want More Dessert Ideas with a Cherry (and Berry) Twist?
If Cherries in the Snow has you dreaming about more fruity, spoonable desserts, you’ll love exploring these other sweet treats on the blog:
- Try this elegant Nova Scotia Blueberry Cream Cake when you want a creamy, berry-filled cake that melts in your mouth.
- For a show-stopping combination of chocolate and cherries, make the rich Cherry Chocolate Cheesecake.
- If you love warm, citrusy bakes, the cozy Magic Lemon Cobbler is a sunny twist on a classic dump cake dessert.
- When you’re craving something extra decadent, the Hot Fudge Sundae Brownie Cheesecake layers brownies, cheesecake, and hot fudge for serious chocolate lovers.
Save This Pin For Later
📌 Save this Cherries in the Snow Dessert to your Pinterest dessert board so you can find it whenever that cherry-and-cream craving hits.
I’d love to hear how it turns out for you—did you stick with classic cherries, or try a different fruit topping? Maybe you swapped in pound cake, added almond extract, or turned it into individual parfait cups.
Share your tweaks and questions in the comments so we can bake (and no-bake!) smarter together. And if you’re always on the lookout for fun dessert ideas, follow along on Nora Nosh Recipes on Pinterest where I share even more sweet inspiration and everyday treats.
Cherries in the Snow Dessert
- Total Time: 4 hours 20 minutes
- Yield: 12 servings
- Diet: Vegetarian
Description
Cherries in the Snow Dessert is a dreamy, no-bake treat that layers soft cake, a fluffy cream cheese “snow” filling, and a glossy blanket of sweet cherry pie filling. It’s the perfect make-ahead dessert when you want something impressive without spending hours in the kitchen. This easy recipe fits right into your favorite quick breakfast ideas for special mornings, relaxed dinner ideas with friends, or simple sweet snacks when you’re craving something creamy and comforting. With classic flavors, minimal prep, and pantry-friendly ingredients, it’s a go-to easy recipe for holidays, potlucks, and anytime you need crowd-pleasing food ideas fast.
Ingredients
1 angel food cake (about 12 ounces), cut into 1-inch cubes
8 ounces cream cheese, softened
0.75 cup granulated sugar
1 teaspoon vanilla extract
0.25 teaspoon almond extract (optional)
2 cups cold heavy whipping cream
0.5 cup powdered sugar
2 cans cherry pie filling (21 ounces each), chilled
Instructions
1. Cut the angel food cake into 1-inch cubes and spread the cubes evenly in the bottom of a 9×13-inch baking dish.
2. In a large mixing bowl, beat the softened cream cheese with the granulated sugar until very smooth and creamy, scraping down the sides as needed.
3. Mix in the vanilla extract and almond extract, if using, until fully combined.
4. In a separate chilled bowl, whip the cold heavy cream with the powdered sugar using a hand mixer or stand mixer until stiff peaks form.
5. Gently fold the whipped cream into the cream cheese mixture in two or three additions, taking care not to deflate the mixture.
6. Spoon the cream mixture over the cake cubes and spread into an even layer, pressing it slightly down so it seeps between the cubes.
7. Carefully spoon the cherry pie filling over the cream layer and spread it all the way to the edges to create an even cherry topping.
8. Cover the dish tightly with plastic wrap and refrigerate for at least 4 hours, or overnight, until thoroughly chilled and the layers are set.
9. Slice or scoop into squares, making sure each serving includes cake, cream, and cherries, and serve chilled.
Notes
For the best texture, make sure the cream cheese is fully softened before mixing—cold cream cheese can leave lumps in the filling and make it harder to fold in the whipped cream smoothly.
- Prep Time: 20 minutes
- Cook Time: 0 minutes
- Category: Dessert
- Method: No-Bake
- Cuisine: American
Nutrition
- Serving Size: 1 serving (about 1/12 of pan)
- Calories: 380
- Sugar: 42
- Sodium: 210
- Fat: 19
- Saturated Fat: 12
- Unsaturated Fat: 6
- Trans Fat: 0
- Carbohydrates: 50
- Fiber: 1
- Protein: 4
- Cholesterol: 60